
The sound of polyurethane wheels rumbling on concrete, the distinct pop of the tail hitting the ground, and the exhilarating feeling of landing a trick you’ve practiced for weeks this is the heart of skateboarding. Moving beyond the foundational ollies and kickturns is what separates casual riders from dedicated skaters. This comprehensive guide is designed to be your personal coach, breaking down advanced professional skateboarding tricks into a step-by-step, digestible curriculum. We will not only cover the mechanics of each trick but also delve into the mindset, safety, and practice regimens required to master them. Whether your goal is to film a killer video part, compete at a local park, or simply expand your repertoire, this article provides the roadmap to elevate your skateboarding to a professional level.
A. The Non-Negotiable Foundation: Gear and Mindset
Before you even attempt to pop your first heelflip, your success depends on two critical pillars: proper equipment and the right mental attitude.
A.1. Gear Check: Your Setup Matters
Your board is an extension of your body. An ill-suited setup can hinder your progress and make learning new tricks frustrating.
-
Deck Width: For street and technical tricks, a deck between 8.0″ and 8.5″ offers a ideal balance of flip speed and foot stability. Wider decks (8.5″+) are great for transition skating but can be slower to rotate.
-
Wheels: Harder wheels (99A-101A) are standard for street skating as they slide easier on grinds and are faster on smooth surfaces. Softer wheels (78A-87A) are for rough terrain and cruising but will grip when you don’t want them to during slides.
-
Trucks: Ensure your trucks are appropriately sized for your deck width (axle should be flush with or slightly inset from the deck’s edges). Tighten or loosen your kingpin nut to find your preferred turning responsiveness.
-
Grip Tape: Fresh, sharp grip is crucial for board control. Don’t try to learn advanced flip tricks on worn-out, slick grip.
-
Bearings: Keep them clean and lubricated. A fast-rolling board requires less effort to pop and maneuver.
A.2. The Skater’s Mindset: Embrace the Process
Professional skating is built on a foundation of failure. You will fall. You will get frustrated.
-
Consistency Over Intensity: Practicing for 30 minutes daily is far more effective than a 4-hour session once a week. Muscle memory is built through repetition.
-
Progressive Overload: Don’t jump from an ollie to a tre flip. Break tricks down into smaller, manageable milestones. Master the shove-it before the pop shove-it, master the kickflip before the varial flip.
-
Visualization: Watch tutorial videos and competition runs. Then, close your eyes and visualize yourself performing the trick perfectly the foot placement, the pop, the flick, the catch, and the roll away. This mental rehearsal is a powerful tool.
-
Safety: Always wear a helmet. Wrist guards, knee pads, and elbow pads are not just for beginners; they are smart tools that allow you to commit to tricks and try new things with more confidence. A serious injury can set you back months.
B. Deconstructing the Trick: The Four Universal Phases
Every flip and spin trick, no matter how complex, can be broken down into four distinct phases. Understanding this anatomy is the key to troubleshooting and success.
B.1. The Setup (Stance and Preparation)
This is how you position your body before the trick begins. For most flip tricks, this means:
-
Front Foot: Placed at a slight angle behind the front bolts, ball of your foot centered on the board.
-
Back Foot: The toe is positioned in the center of the tail, ready to deliver a powerful, snapping pop.
B.2. The Pop and Flick (The Launch)
This is the explosive moment where the trick is initiated.
-
The Pop: Your back foot snaps the tail down and behind you against the ground. This action launches the board and your body into the air. The force and direction of the pop dictate the board’s rotation.
-
The Flick: Simultaneous to or immediately after the pop, your front foot executes a precise flick off the edge of the board. The location of the flick (off the nose, the side, or the pocket near the bolts) determines the trick’s rotation (kickflip, heelflip, hardflip).
B.3. The Catch (Mid-Air Control)
This is the most overlooked phase by beginners. You are not a passenger; you are a pilot.
-
After the flick, you must bring your knees up to your chest to get your feet out of the way of the spinning board.
-
Your eyes must track the board’s rotation and your feet must be ready to stop its spin and re-establish control. This is the “catch.”
B.4. The Landing and Roll Away (The Commitment)
The trick isn’t over until you’re rolling away cleanly.
-
Stomping It: As you catch the board, your feet should press down to halt its rotation and level it out beneath you. Aim to land with your feet over or near the bolts for maximum stability.
-
Knees Bent: Absorb the impact with bent knees. Landing stiff-legged is a direct path to ankle and knee injuries.
-
Commit: Your weight must be centered over the board. Leaning too far back or forward will result in a slip-out. Look ahead in the direction you intend to roll away.
C. Pro Trick Tutorials: A Step-by-Step Breakdown
Now, let’s apply the universal phases to specific, high-level tricks.
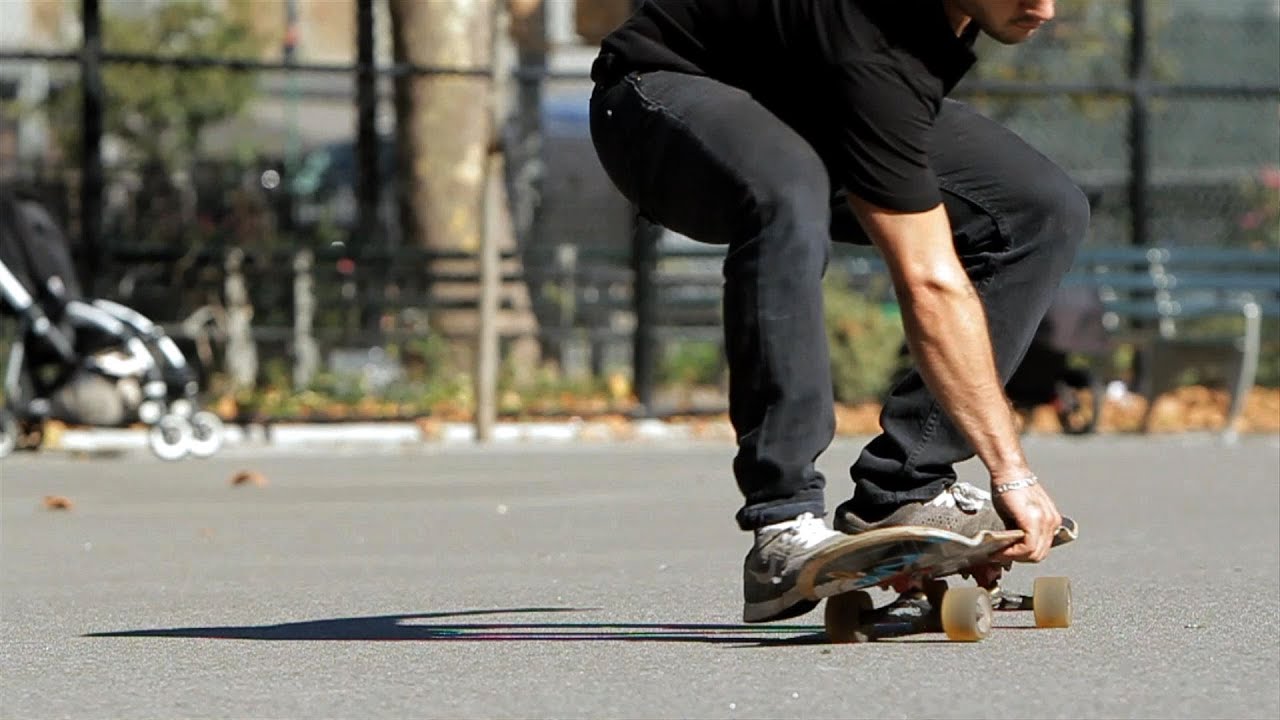
C.1. The Kickflip: The Essential Building Block
The kickflip is the alphabet of advanced skateboarding. Master this, and a world of combinations opens up.
-
Step-by-Step Guide:
A. Setup: Place your back foot firmly in the pocket of the tail. Position your front foot at a 45-degree angle, just behind the front bolts, with your heel slightly off the edge.
B. Pop and Flick: Crouch down and pop the tail straight down. As the board begins to rise, slide your front foot up towards the nose and flick your ankle outward, kicking through the top corner of the nose. This friction from the grip tape is what makes the board flip.
C. Catch: As the board completes its single rotation, bring your knees up and prepare your front foot to catch the board grip-side-up. Your back foot should also be ready to guide the board down.
D. Landing: “Stomp” the landing with both feet, preferably over the bolts, knees bent to absorb the impact. Roll away cleanly. -
Common Mistakes & Fixes:
-
Problem: The board flips but flies away from you.
-
Fix: You are likely kicking down instead of out and off the nose. Focus on a more forward flicking motion.
-
-
Problem: The board only flips halfway (rocket flip).
-
Fix: You are not flicking hard enough or your front foot is not sliding all the way to the nose to generate full rotation.
-
-
C.2. The Heelflip: The Mirror Image
The heelflip uses the opposite motion of a kickflip, flipping the board with your heel.
-
Step-by-Step Guide:
A. Setup: Similar to a kickflip, but your front foot should be placed with the toes hanging slightly off the opposite side of the board.
B. Pop and Flick: Pop the tail straight down. Instead of sliding your foot up and out towards the nose, drag your front foot towards the heel-side edge of the nose and flick down and out with your heel. Imagine you’re trying to kick a pebble off the edge of the board with your heel.
C. Catch: The board will spin away from your body. Track its rotation and catch it with your back foot first, followed by your front foot.
D. Landing: Land bolts and bend your knees. Commitment is key here, as the board’s motion can feel like it’s escaping from you.
C.3. The 360 Flip (Tre Flip): The Art of Elegance
A combination of a 360 shove-it and a kickflip. It’s a fluid, beautiful trick that looks incredible when mastered.
-
Step-by-Step Guide:
A. Setup: Your back foot should be in the pocket of the tail, but angled (toe pointed towards the heel-side edge). Your front foot should be positioned similar to a kickflip but may be placed slightly lower for a more powerful flick.
B. Pop and Flick: This is a scooping motion. Pop the tail down and scoop your back foot backwards and in a semicircular motion around you. This initiates the 360 shove-it rotation. Simultaneously, perform a swift but controlled kickflip flick with your front foot. The scoop provides the spin, the flick provides the flip.
C. Catch: This trick requires patience. The board will spin behind you. Wait for it to complete almost its full rotation before catching it with your front foot to stop the flip and spin.
D. Landing: Stomp the landing and roll away. The timing is the hardest part wait for the board, don’t chase it.
C.4. The Hardflip: A Technical Marvel
A hardflip is a frontside pop shove-it combined with a kickflip, but the board flips vertically in a seemingly magical way.
-
Step-by-Step Guide:
A. Setup: Feet positioned similar to a frontside pop shove-it.
B. Pop and Flick: Pop a strong frontside shove-it. However, as the board begins its rotation, use your front foot to flick a kickflip. The key is that the flick is more of an upward, quick jab into the board’s underside to make it flip vertically rather than horizontally.
C. Catch: The board should do a barrel roll towards you. Catch it with your back foot first to stop the motion.
D. Landing: Land and roll away. This is an advanced trick that requires immense board control and commitment to stay over the board as it moves towards you.
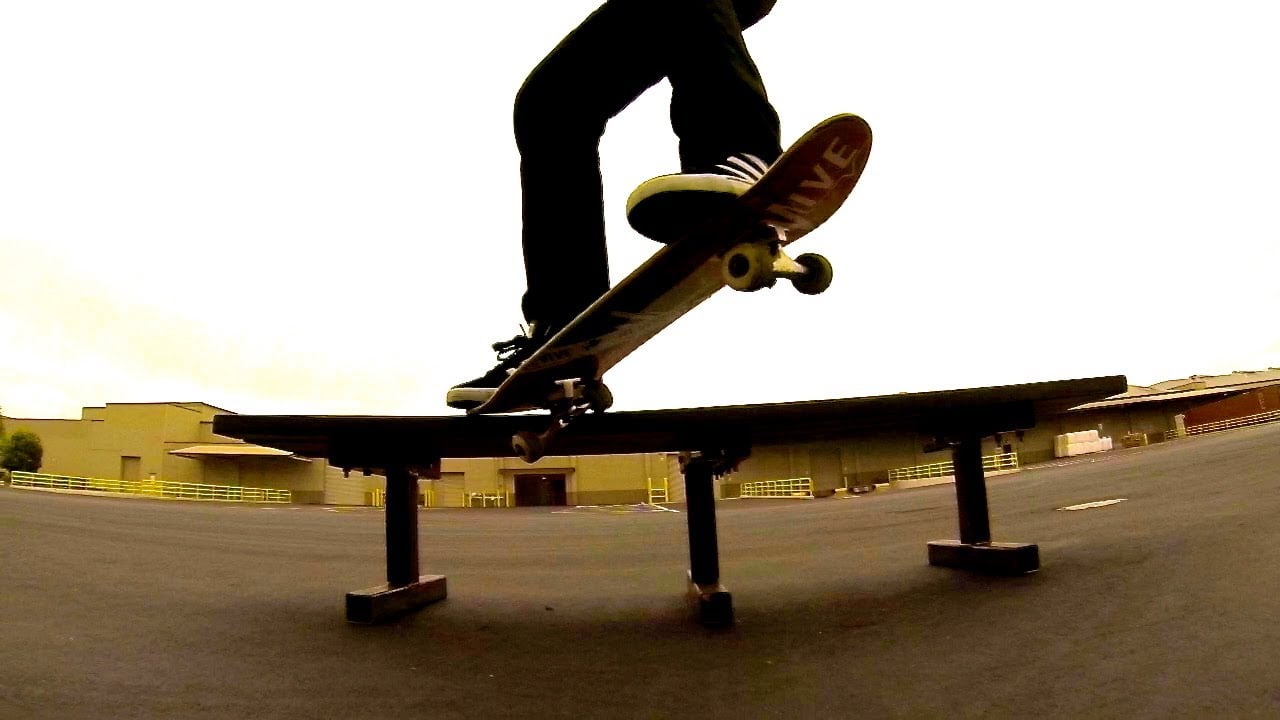
D. Mastering the Art of Grinds: Beyond Flips

While flip tricks are flashy, grinds are the cornerstone of street skating.
D.1. The 50-50 Grind: The Foundation
-
Approach: Ride parallel to the ledge or rail at a moderate speed, your shoulders aligned with the obstacle.
-
Ollie: Ollie straight up and slightly forward, aiming to place the trucks directly onto the obstacle.
-
Lock-In: Balance on the obstacle, keeping your weight centered. Stay in a crouched position.
-
Exit: As you reach the end, slightly unweight the board by straightening your legs and pivot slightly off the obstacle, riding away cleanly.
D.2. The Boardslide: The First Rail Trick
-
Approach: Approach the rail at a 45-degree angle.
-
Ollie: Ollie towards the rail, turning your shoulders and board 90 degrees in the air.
-
Slide: Land with the center of your board on the rail, balancing with your feet on the bolts. Look towards the end of the rail.
-
Exit: As you approach the end, pivot your shoulders back to the original position to land bolts and roll away.
E. Advanced Practice Regimens and Drills
Mindless repetition builds bad habits. Structured practice builds mastery.
-
Drill 1: Stationary Practice. Practice the foot motions and flicks while holding onto a fence or railing. This builds muscle memory without the fear of falling.
-
Drill 2: The Carpet Roll. Practice tricks while standing on a carpet or grass patch where the board won’t roll out. This helps you focus on the pop and flick mechanics.
-
Drill 3: Video Analysis. Film your attempts. Compare them side-by-side with a professional tutorial. This is the fastest way to identify errors in your posture, foot placement, and timing.
-
Drill 4: Trick Combinations. Don’t just land one trick and stop. Practice lines: Ollie over a crack, then a kickflip, then a shove-it. This builds the stamina and consistency needed for real-world skating.
F. Conclusion: Your Pro Skating Journey Awaits
The path to mastering professional skateboarding tricks is a marathon, not a sprint. It is a journey filled with frustration, perseverance, and ultimately, immense satisfaction. Each scraped knee and rolled ankle is a lesson learned. By respecting the fundamentals, understanding the mechanics, equipping yourself properly, and practicing with purpose, you will systematically conquer every trick on your list. Remember, every pro skater was once a beginner staring down at their board, wondering how it could ever possibly flip. They committed, they practiced, and they overcame. Now, it’s your turn. Grab your board, head to the spot, and start popping. The only thing standing between you and that perfect tre flip is time and dedication.


